YouTube to WAV Converter – The Ultimate 2025 Guide
If you’ve ever tried to extract audio from a YouTube video for editing or production work, you know the struggle of finding a reliable converter that actually maintains audio quality. After testing dozens of YouTube to WAV converters in 2025, I’ve put together this practical guide to help you convert YouTube videos to WAV format the right way.
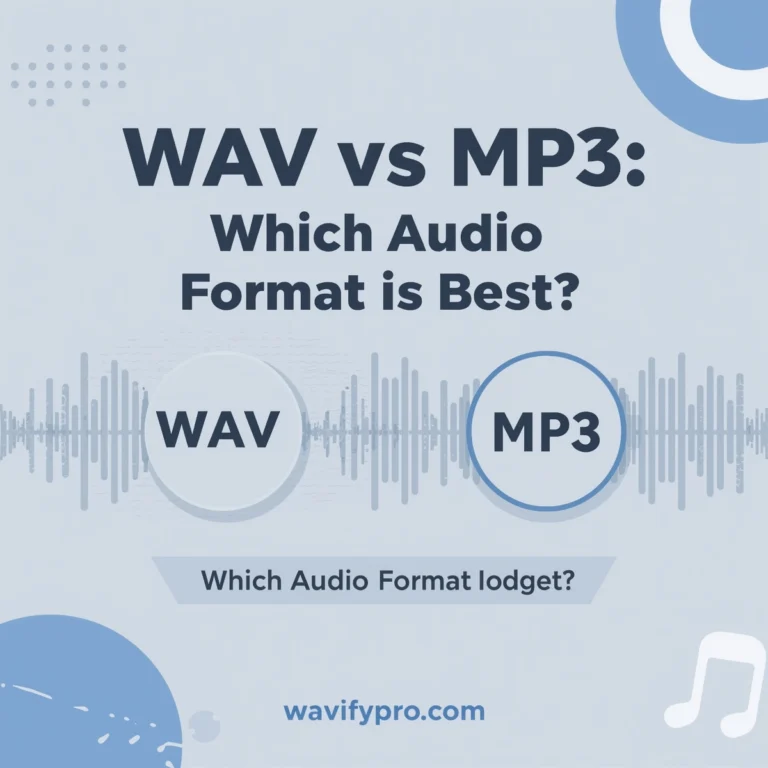
What is WAV and Why Does It Matter?
WAV is an uncompressed audio format that preserves every detail of the original sound. Think of it like the difference between a photograph and a photocopy—WAV keeps everything intact.
Unlike MP3 or AAC, which use lossy compression to shrink file sizes by removing audio data you “won’t notice,” WAV files maintain perfect audio fidelity. This makes them essential for professional audio editing, music production, and any situation where sound quality can’t be compromised.
Quick comparison:
- MP3/AAC: Compressed, smaller files (3-5MB per song), some quality loss
- WAV: Uncompressed, larger files (30-50MB per song), zero quality loss
- FLAC: Compressed but lossless (15-25MB per song), maintains quality
Who Actually Needs YouTube to WAV Conversion?
You’re not alone if you need to convert YouTube videos to WAV format. Here’s who benefits most:
Music Producers and Audio Engineers need high-quality audio for sampling, remixing, and production work. WAV files give you the cleanest source material to work with in digital audio workstations like Ableton Live, Pro Tools, or FL Studio.
Podcast Editors often pull clips from interviews or speeches uploaded to YouTube. A WAV audio file ensures you’re not adding compression artifacts on top of YouTube’s existing compression.
Sound Designers working on video games, films, or multimedia projects need pristine audio for post-production work. Converting YouTube content to WAV format preserves the original audio quality for professional editing software.
Musicians and Students studying performances or techniques benefit from high-fidelity WAV files that capture every nuance of the original recording.
How to Convert YouTube to WAV in 2025
The process has gotten much simpler over the years. Here’s how to convert YouTube videos to WAV audio files:
Step 1: Copy the YouTube Video URL
Navigate to the YouTube video you want to convert. Click the share button or copy the URL directly from your browser’s address bar. Both standard youtube.com links and shortened youtu.be links work with modern converters.
Step 2: Choose a Reliable YouTube to WAV Converter
Look for an online converter that supports high-quality audio extraction. The best free YouTube to WAV converters in 2025 offer:
- Sample rates up to 96kHz (CD quality is 44.1kHz)
- 16-bit or 24-bit depth options
- No file size restrictions
- Privacy protection (no data storage)
Step 3: Paste and Convert
Paste your YouTube link into the converter, select WAV as your output format, and click convert. Most reliable YouTube to WAV converters process videos in 15-30 seconds.
Step 4: Download Your WAV File
Once the conversion completes, download the WAV audio file to your device. The file will be significantly larger than an MP3—a 4-minute song might be 40-50MB as WAV versus 4-5MB as MP3.
Understanding Audio Quality: What You’re Actually Getting
Here’s something most guides won’t tell you: YouTube doesn’t host lossless audio. Videos on YouTube typically use AAC audio compression at 128-256kbps, depending on the video quality.
So when you convert YouTube to WAV, you’re getting an uncompressed WAV file—but the source material was already compressed by YouTube. Think of it like scanning a printed photo: the scan might be high-resolution, but it can’t recreate detail that was lost in printing.
This doesn’t make WAV conversion pointless, though. Converting to WAV format is still valuable because:
- You prevent additional quality loss from further compression
- WAV files work better in professional audio editing software
- You maintain the best possible quality for editing and processing
- Future exports from your project won’t compound compression artifacts
WAV vs Other Audio Formats: Making the Right Choice
WAV vs MP3
MP3 uses lossy compression that removes audio data to create smaller files. It’s fine for casual listening, but if you plan to edit, process, or re-export the audio, those compression artifacts get worse with each generation.
WAV maintains the original audio quality from YouTube without additional degradation. For professional audio projects, this difference matters.
WAV vs FLAC
FLAC offers lossless compression—you get WAV quality at about 60% of the file size. However, FLAC isn’t as universally supported in audio editing software as WAV. If your DAW supports FLAC and storage is tight, it’s a solid alternative.
WAV vs AAC
AAC is what YouTube actually uses for video audio. Converting to WAV from YouTube essentially decompresses the AAC audio into an uncompressed format, which is useful for editing but doesn’t magically restore lost quality.
Legal Considerations: What You Need to Know
Let’s address the elephant in the room. Converting YouTube videos to any audio format involves copyright considerations.
Personal use: Downloading content for personal, non-commercial use exists in a legal gray area. YouTube’s Terms of Service prohibit downloading content unless a download button is provided by YouTube itself.
Fair use: Some educational, critical, or transformative uses may qualify as fair use, but this is context-dependent and complex. When in doubt, consult legal guidance.
Copyright infringement: Downloading copyrighted music, redistributing content, or using downloaded audio commercially without permission is illegal.
The practical approach: If you’re converting content for professional work, reach out to the copyright holder for permission. For public domain content, educational lectures you’re enrolled in, or your own uploaded videos, you’re on much safer ground.
Best Free YouTube to WAV Converters in 2025
After testing current options, here’s what actually works:
Online converters remain the most accessible option. Look for services that:
- Don’t require software installation
- Process files server-side (faster than browser-based conversion)
- Support high sample rates (48kHz minimum, 96kHz ideal)
- Offer 24-bit depth for professional quality
- Don’t store your files after conversion
Browser extensions can be convenient but often come with privacy concerns. If you use one, check reviews and permissions carefully.
Desktop software like youtube-dl (command-line) or yt-dlp offers more control over audio extraction settings. These tools are powerful but require technical knowledge.
For most users, a simple online YouTube to WAV converter provides the best balance of convenience and quality.
Tips for Getting the Best Audio Quality
- Start with the highest quality YouTube video available. Click the settings gear in the YouTube player and select the highest resolution—higher video quality usually means better audio quality too.
- Choose appropriate sample rates. For most purposes, 44.1kHz or 48kHz is sufficient. Going to 96kHz creates larger files without noticeable benefit unless you’re doing advanced audio processing.
- Consider your workflow. If you’re just archiving audio, 16-bit is fine. For professional production with lots of processing, 24-bit gives you more headroom.
- Store WAV files properly. These large uncompressed files add up quickly. Use external drives or cloud storage if you’re building a library.
- Back up important files. Unlike lossy formats where compression is permanent, WAV files can be converted to other formats without quality loss, so they’re your archival master copies.
Common Issues and How to Fix Them
“The converter says the video is unavailable” Some videos have download restrictions or regional blocks. Try accessing the video directly on YouTube first to verify it’s playable in your location.
“My WAV file sounds the same as MP3” Remember, WAV from YouTube won’t sound dramatically different than a high-quality MP3 of the same source. The benefit is preserving quality for editing, not improving beyond YouTube’s original audio.
“The file is too large” A 5-minute WAV at 44.1kHz/16-bit will be about 50MB. This is normal. If storage is limited, consider FLAC instead, or use WAV for active projects and convert to FLAC for archival.
“My audio editing software won’t import the file” Ensure your WAV file uses a standard configuration (44.1kHz or 48kHz, 16 or 24-bit, stereo). Some exotic settings may cause compatibility issues with older software.
The Future of Audio Formats
As we move through 2025, audio formats continue evolving. Streaming services increasingly offer lossless options, and awareness of audio quality has never been higher among consumers.
WAV remains the professional standard for audio editing because of its universal compatibility and zero-compression approach. While newer formats offer interesting features, the simplicity and reliability of WAV keeps it relevant.
For content creators, understanding when to use uncompressed formats like WAV versus compressed formats like MP3 is increasingly important as audiences become more discerning about audio qualit
Final Words
Converting YouTube to WAV format serves a specific purpose: preserving the best available audio quality for professional editing, production, or archival. It won’t magically improve YouTube’s compressed audio, but it prevents further quality loss and provides the clean, uncompressed files that professional audio work demands.
Whether you’re sampling for music production, editing podcasts, or building a reference library, choosing the right audio format and converter makes a real difference in your final results.
Ready to convert? Try our free YouTube to WAV converter — no signup required, optimized for quality, and designed for creators who care about sound.